Timelapse Workflow Update
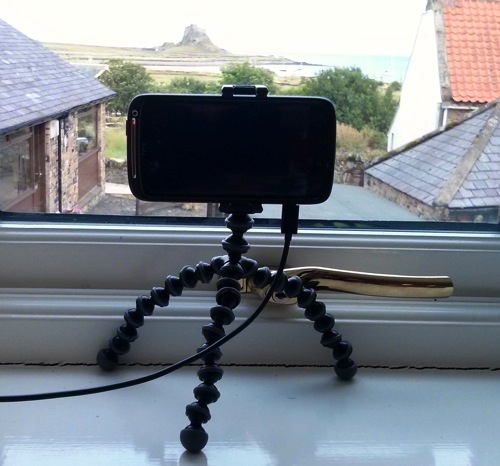
We’re on holiday up on the stunning Holy Island, and it’s a perfect opportunity to make some improvements to my current Timelapse workflow. I’m now using my old Desire XE as a dedicated time-lapse shooting device, and the Joby Grip Tight and GorillaPod are still proving extremely useful:

The Android App ‘LapseIt Pro’ continues to be excellent for phone-only time-lapse rendering, but my day-long shoots generate around 9000+ images, and the Desire XE just can’t cope with the processing needed, and transferring to the Nexus4 is crazily slow (and inefficient).
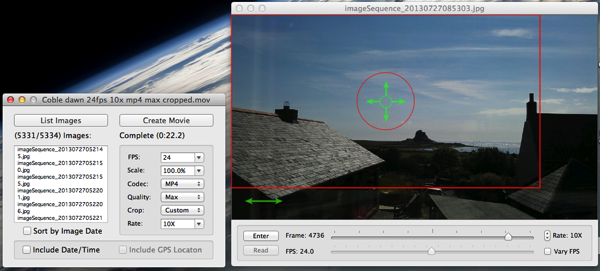
Enter the ‘Time-Lapse’ app for Mac:

– easy drag and drop my batch of images straight from finder.
– simple and quick setting of format, frames per second, and speed multiple
– applying rudimentary crop across the sequence
– it’s a bargain at £2.99!

I’ve just used it with a sequence of 5300 photos (totalling around 1.5GB)of the sunrise over Holy Island from our cottage. It took seconds to set to 24fps and 10x speed, plus a little crop as per the above screen shot, and then literally a few minutes to render out the as a moderately high quality .mp4 which you can see here (hosted on Vimeo):
Holy Island sunrise from Coble Cottage from bseymour on Vimeo.
In this follow on test with the time-lapse of the whole day, apply a crop, apply some compression, and set at 10x speed. (I used a stopwatch app) It took 50 seconds to import the 15,000 photos (5.6GB), and a further 4m 50s to create the rendered video output: [whoops – I’m too close to exceeding my Vimeo storage to be able to upload this week, so I’ll have to use YouTube]: